Quote:
Great pic and a very nice project! :thumbup: |
Love the rear with those fat tires!
|
While building this truck, I wanted to make sure that I could park it inside my security fence and close the gate
 Thats got to be at least a 1/4" to spare!  Also got some work done on the drivers side   http://www.BenModified.com |
Finished the drivers side cab corner and under cab area
 Started smoothing off the hundreds of tack welds on the headlight filler panels.   http://www.BenModified.com |
Progress. Welded up the cut in the door and removed the alignment clamps
    Also made some progress on the drivers side bed side and engine vents. Welded in the mounting strips and grafted in the vents but still have lots of tack welds and grinding to go. 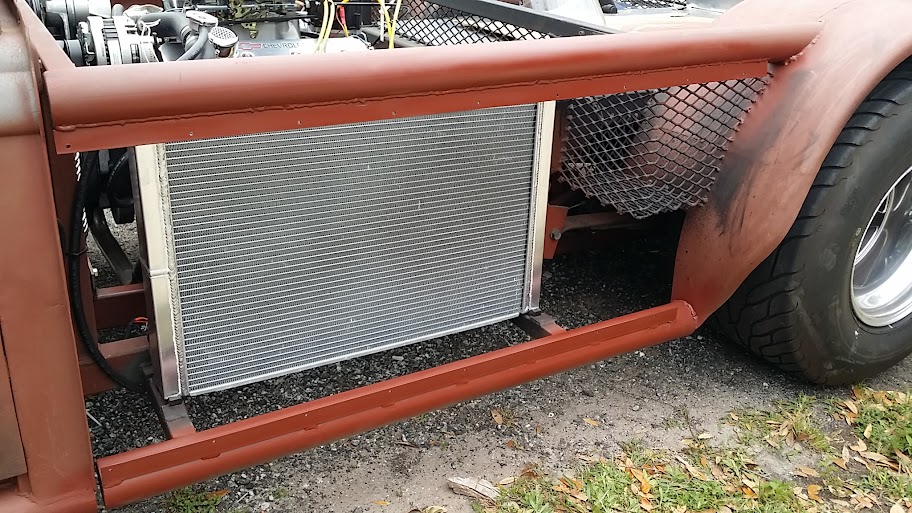      http://www.BenModified.com |
|
hahaha that is really awesome!
|
Quote:
Thanks! I am not completely happy with the engine venting so I am trying something that looks a bit more aggressive. I split a piece of 3" exhaust tubing and starting building a scoop for each side. The front section will be permanently mounted and the rear section will be mounted with dzus fasteners for access.  The flat panels are butt welded in...took forever     http://www.BenModified.com |
The turnlights :eek: Are they even legal?
|
Quote:
They sure are! |
|
|
Great workmanship on the scoop, but not sure about the look.
|
I like it, it flows well with al the other curves
|
Nice upgrade, put some nice flames on the side :D
|
Got started on the Engine Cover/Hood today. The plan is to make it look very similar to the roof on the cab
      http://www.BenModified.com |
looks already really good, the bending you did is amazing! What did you use to get the nice curves in the metal, a steel pipe?
|
Quote:
Thanks! The rough curves in the center section were made with a piece of 3" exhaust tubing. The rear section was shaped with a round plastic hammer and sand bag and then run thru an english wheel to make the compound curve. Once the rear section is completely welded in I will use the english wheel on the center section to smooth the rough bends and tighten up the large expanse by giving it the same slight egg shape that the roof has for strength.   Welded up most of the rear section but still need to fill the corners, weld the underside and smooth    |
NICE!, i wasn't expecting an enginecover at all
|
Quote:
Thanks, its coming along!  |
Made some more progress on the hood today. Got both of the rear corners welded in, just need smoothing.
  http://www.BenModified.com |
|
Wow nice equipment! That certainly helps getting the bends in correctly.
Are you going to make it possible to open the hood? |
Quote:
Yes, it will be hinged at the rear with simple hydraulic lifts to hold it open |
|
The hood is mostly done. Still need to run it thru the english wheel to smooth and crown.
 Found these intricate bmw hood hinges at the self serve salvage yard for $5!  http://www.BenModified.com |
Started setting up the bmw hinges. I should be able to hinge the hood at the front.
     Full open position still leaves enough room for the height of the hood  http://www.BenModified.com |
Completely installed the hood hinges and fabricated a framework to sandwich between the hinges and hood for strength.
    http://www.BenModified.com |
Started priming the framework and underside of the hood. While that was drying, I began installing the lift struts on the hinges when I noticed coolant leaking out from between the intake manifold and the head on my crate motor. Of the two intake manifold bolts on the right rear of the motor, the far rear one was not even finger tight. The other was not much tighter. I torqued all of them. The ones on the front of the motor were fine, but one on the left rear was also under torqued. The leak stopped, so I went ahead and changed the oil as a precaution. Not happy. It is still in warranty, so we will see.
 I got the last two throttle balls from the local parts store to use as lower strut mounts. Turns out one of them was left hand threaded, so waiting for another to come in on Monday     The latch is next. http://www.BenModified.com |
|
That looks good, when opened leave plenty of space to reach the engine properly.
|
Quote:
Thanks, I am very happy with it. The hood is mostly done as is the remote latch    http://www.BenModified.com |
Looks good when closed or opened, amazing how you got it to fit so nicely!
|
Craftmanship. !!
|
Quote:
Thanks! |
Quote:
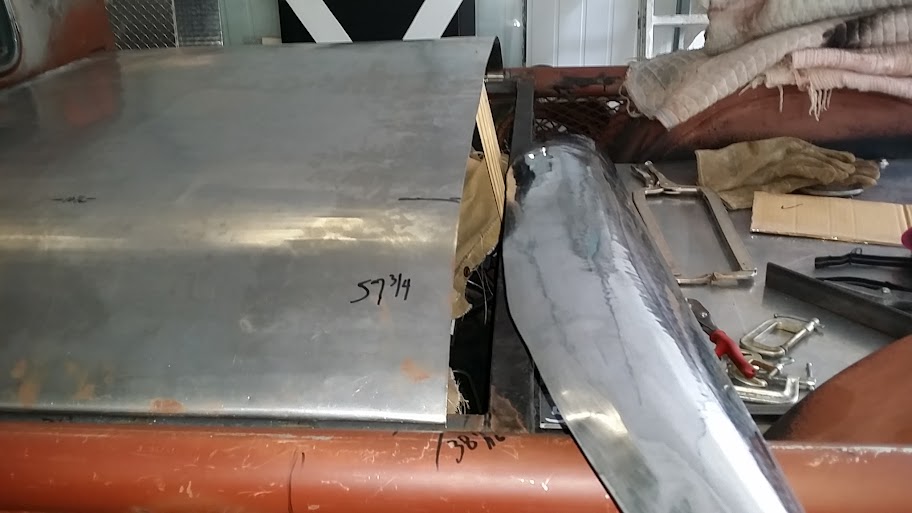
Thanks! Started building the passenger side scoop today.   http://www.BenModified.com |
|
Finished up the passenger side scoop
  And got started on filling the gap under the doors.     http://www.BenModified.com |
|
I spent some time yesterday applying a little body filler on the rear fenders. Today I sprayed them and the bed tubing with some rustoleum prof grade bed liner. I like the way it turned out.
  http://www.BenModified.com |
| All times are GMT +1. The time now is 06:33. |
Powered by vBulletin
Copyright ©2000 - 2025, Jelsoft Enterprises Ltd.